
Installation
Server Requirements
Before you install make sure your server meets the following requirements:
- PHP 7.4+
- MySQL 5.6+ or MariaDB 10.0+
- Intl PHP Extension
- Intl Curl PHP Extension
- PDO PHP Extension
- Mbstring PHP Extension
- XML PHP Extension
- JSON PHP Extension
How to run project on localhost PC ?
Installation Requirements
If you use windows operating system- Download and install XAMPP in
Cdrive - Download and Install Composer in
Cdrive
Step 1: Creating Database
- Unzip the downloaded archive package.
-
Go to your phpmyadmin using ->
http://localhost/phpmyadminand create new database
Step 2: Configuration
-
You need to fill the database connection details,
administration details, and store details to .env example
file. Please copy the
.env.exampleand rename it to.envand fill up the.envdetails accordingly.
Step 3: Run Installation Command
- Open terminal/windows powershell and go to project folder directory
composer install-
php artisan migrate:fresh --seed php artisan passport:installphp artisan storage:linkphp artisan serve
Default Email and Password
- Email: admin@example.com
- Password: secret
Step 4: Run Project
- Open you browser
-
browse
http://127.0.0.1:8000Orhttp://localhost:8000
This instruction shows how to run it locally on your PC, but it works generally the same on any hosting portals. In most case in payed portals you have any web panels to configure your public folder that reference to /public folder in laravel folder's structure.
How to upload using command ?
Step 1: Creating Database
- Unzip the downloaded archive package.
- Go to your database and create new database
Step 2: Configuration
-
You need to fill the database connection details,
administration details, and store details to .env example
file. Please copy the
.env.exampleand rename it to.envand fill up the.envdetails accordingly.
Step 3: Run Installation Command
- Open terminal and go to project folder directory
composer install-
php artisan migrate:fresh --seed php artisan passport:installphp artisan storage:linkphp artisan serve
Default Email and Password
- Email: root@example.com or admin@example.com
- Password: secret
if you login use admin@gmail.com email you can see only profile list in setting menu
Rest API
- Base URL:
www.your_domain_name.com/api
for example: https://razinsoft.com/api
How to update website name, setting, logo etc.
If you want to change your website settings first go to login page of your admin panel then login as root@example.com
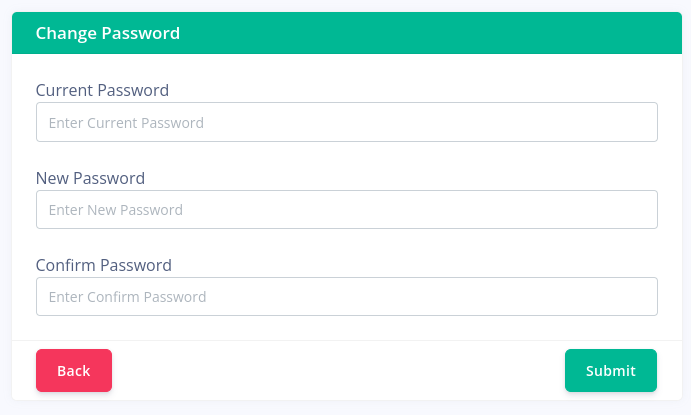
Change admin login-profile or password
Dashboard -> Setting -> profile
- click edit button to update profile
- if you want change login password click change password button
- Enter your current password .. for example secret
- Enter new password .. for example 123456
- Confirm Password .. for example 123456
Screen capture in bellow
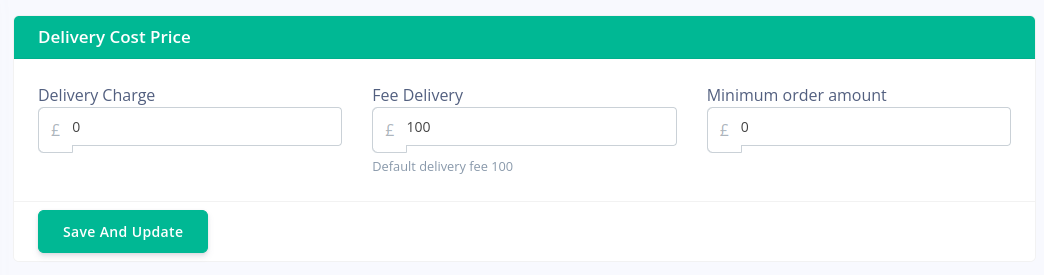
Add or Change Delivery cost
Dashboard -> Setting -> Delivery cost
Delivery Charge: If you add a delivery charge, the delivery charge will be added to all subsequent orders.Fee Delivery: If a customer orders equal to or more than free delivery, the delivery cost will be zero(0)Minimum order amount: Minimum Amount No one can order less than the minimum amount.
Screen capture in bellow
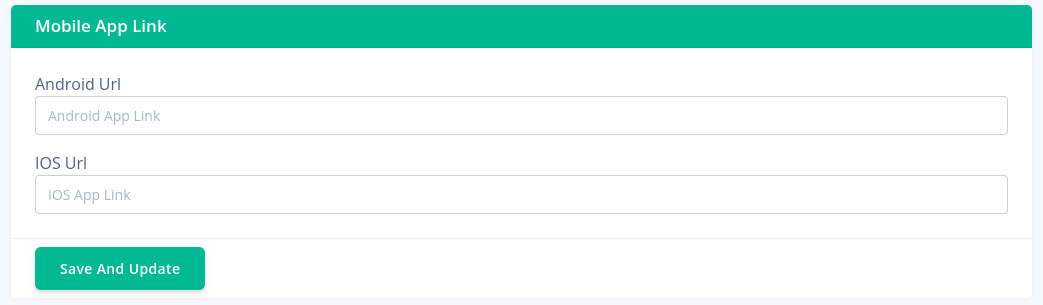
Update Mobile App Link
Dashboard -> Setting -> Mobile App Link
Android Url: Enter your Google Play Store link here.IOS Url: Enter your App Store link here.
Screen capture in bellow
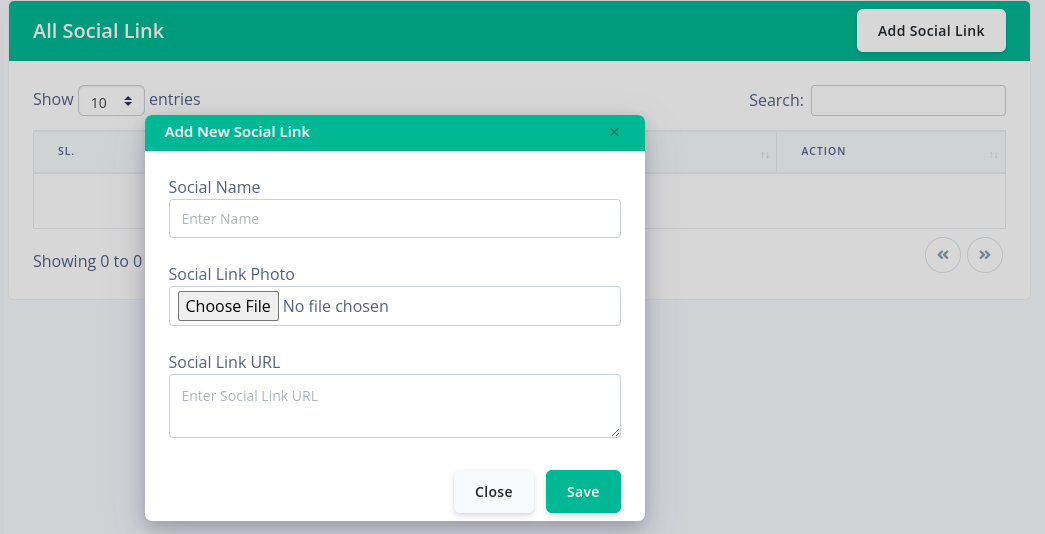
Manage Social Links
Dashboard -> Setting -> Social Links
Add social link: You can add new social links from here.Social Name: Enter your social link name hereSocial Link Photo: Here you select a PNG icon from your computer.Social Link URL: Enter your social link URL here.Edit: If there is a mistake somewhere in the social link by clicking on the edit button, you can edit it from here.Delete: If you want, you can delete your social link completely by clicking the delete button.
Screen capture in bellow
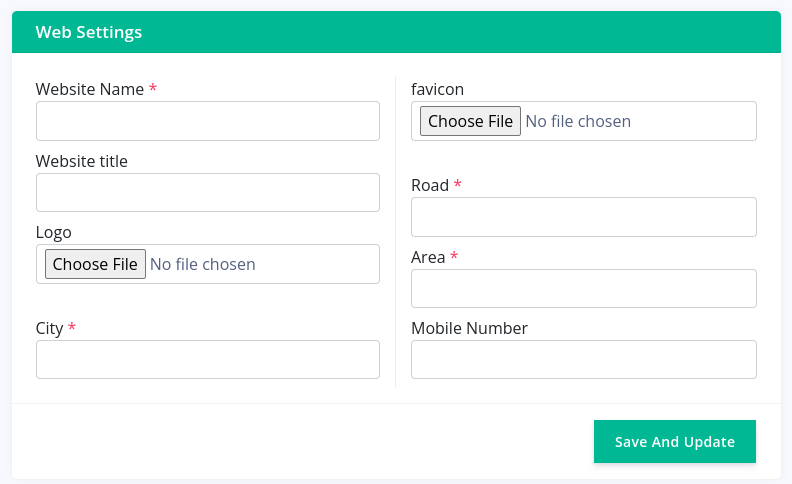
Change Website Name, Title, Logo, Favicon etc.
Dashboard -> Setting -> Web setting
- Website Name: Enter the name you want your website to have here.
- Website title: Enter your website title here.
- Logo: Select the logo of your choice for your website here.
- favicon: Select your favorite Favicon here and it will show next to the website title.
Screen capture in bellow
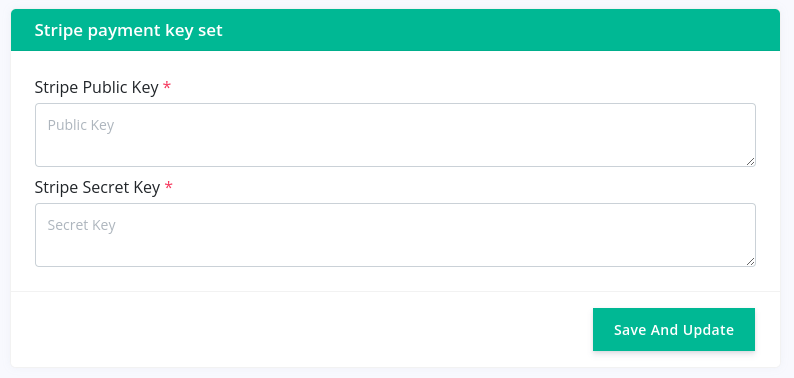
Setup online payment stripe key
Dashboard -> Setting -> Stripe payment
- Stripe Public Key: Enter your Stripe Public Key here.
- Stripe Secret Key : Enter your Stripe Secret Key here.
Screen capture in bellow
A) App Basic Information
Flutter Version - 3.3.10
Dart Version - 2.18.6
Install Flutter - Choose guide according to your operating system.
Windows- https://flutter.dev/docs/get-started/install/windows
macOS- https://flutter.dev/docs/get-started/install/macos
Linux- https://flutter.dev/docs/get-started/install/linux
Set up an editor- https://flutter.dev/docs/get-started/editor
Build Our App - Open laundry folder on your selected IDE
(Android Studio or VSCode). Then follow the guide below.
https://flutter.dev/docs/get-started/test-drive Run the App Section
B) App Directories & File Uses
Our Design uses only assets & lib folders. So, don't touch any other folder for ui changes.
- assets(Folder) - Put all Static images & other data (in Our Case images & json file) in this folder
- fonts(Folder) - Contains all the fonts
- images(Folder) -Contains all the .png/.jpg images
- svgs(Folder) -Contains all the .svg assets
- lib(Folder) - Main folder that contains all the dart code
- constants(Folder) -Contains all the constants of the app
- misc(Folder) -Contains all the global functions of the app
- models(Folder) -Contains all the data models from the api
- notfiers(Folder) -Contains all the state notifiers off the app
- offline_data(Folder) -Contains all offline data that are locally stored for the current session of the app
- providers(Folder) -Contains all th providers of the app
- repos(Folder) -Contains all the repos of the app
- screens(Folder) -Contains all the Screens of the app
- address(folder) -Contains all address related screens
- add_update_address.dart(file)- Contains the screen for adding or updating the existing address
-
manage_address_screen.dart(file)- Contains the screen
from
where you can either edit update or delete
any existing address in your profile
- auth (folder)- Contains all the authentication related screens of the app
- login_screen_wrapper.dart(file) - Contains the wrapper for the login screen
- login_screen.dart(file) - Contains the login screen of the app
- password_recovery_stage_(three,two).dart(file)- Contains the password recovery screen
- sign_up_otp_image_upload.dart(file)- Contains the image upload screen with otp for sign up
- sign_up_otp_verification.dart(file)- Contains the otp confirmation screen for sign up
- sign_up_screen.dart(file)- Contains the sign up screen of the app
- sign_up_success.dart(file)- Contains the sign up completion screen of the app
- cart(folder)- Contains all the cart related screens of the app
- my_cart_tab.dart(file)- Contains the my cart tab of the app
-
my_cart_with_image_card.dart(file)- Contains the my cart
card
with image
- homePage(folder)- Contains all the homepage related pages of the app
- choose_items.dart(file)- Contains the screen for choosing item to add to cart
- edit_profile.dart(file)- Contains edit profile screen where the users can edit their profile
- home_screen.dart(file)- Contains the home screen of the app
- home_tab.dart(file)- Contains the hometab
- my_notfications_tab.dart(file)- Contains my notification screen where all the notifications of current user is shown
- profile_tab_unsigned.dart(file)- Contains profile tab for unsigned users
-
profile_tab.dart(file)- Contains the profile tab screen
for
signed in user
- onBoarding(folder)- Contains all the onboarding related pages of the app
- on_boarding.dart(file)- Contains onboarding screen of the app
-
splash_screen.dart(file)- Contains the splash screen of
the
app
- order(folder)- Contains all the order related pages of the app
- delivery_schedule_picker.dart(file)- Contains all the scheduled deliveries that have to be done
- my_order_home_tile.dart(file)- Contains all the orders of the current user
- my_orders_tab_signed.dart(file)- Contains the order tab for the signed in users
- my_orders_tab.dart(file)- Contains order tab for users when they are not signed in
- order_details_page.dart(file)- Contains the order details screen of the app
- order_dialouges.dart(file)- Contains the dialogues that are shown in the order screen of the app
- payment_method_card.dart(file)- Contains the payment card of the app
- schedule_picker.dart(file)- Contains the schedule picker screen of the app
- other(folder)- Contains all the other screens of the app
- about_us.dart(file)- Contains the about us screen of the app
- contact_us.dart(file)- Contains the contact us screen of the app
- privacy_policy.dart(file)- Contains the privacy policy screen of the app
- terms_of_service.dart(file)- Contains the terms of service screen of the app
- payment(folder)- Contains all the payment related screens of the app
- add_card_screen.dart(file)- Contains the screen for adding new cards for payment completion or for adding new billing cards to your profile
- order_success.dart(file)- Contains the order completion screen of the app
- payment_controller.dart(file)- Contains the payment controller portion of the app
- payment_screen.dart(file)- Contains the screen for payment after checkout operation
- payment_section.dart(file)-Contains the payment section off the app
- schedule_picker_widget.dart(file)-Contains the schedule picker widget food the schedule picker screen
- services(folder) - Contains all the api related services of the app
- utils(folder) -Contains all the global utils of the app
- widgets(folder)- Contains all the global widgets of the app
- main.dart - Entry Point of Our App
- pubspec.yaml(File) - Specification file (All the package and local assets (Like Images, Fonts, etc.) we use in this application are specified in this file.)
C) What are the prerequisites?
Flutter version must be: Flutter 3.3.10• channel stable
Dart version must be: Dart 2.18.6
Make sure your flutter and dart versions are correct. Follow the flutter documentation from https://flutter.dev/docs/get-started/install to install the given version of flutter in your pc/mac.
D) How to run Android Application in Android Studio?
- Install Android Studio from https://developer.android.com/studio
- Extract the scource_code.zip. You will find this inside the main zip.
- Open the folder in your android studio.
- Even if you are building an app for ios, use android studio for the build.
- Then in your android studio terminal run:
flutter pub get ** You need this to get all 3rd party packages from pub.dev
E) How to Configure the App for your setup?
-
App Config: This helps
you connect your app to your server.To configure the app based on ur api
just
go to the
lib/constants/config.dart and change the baseUrl to ur own websites api
url.
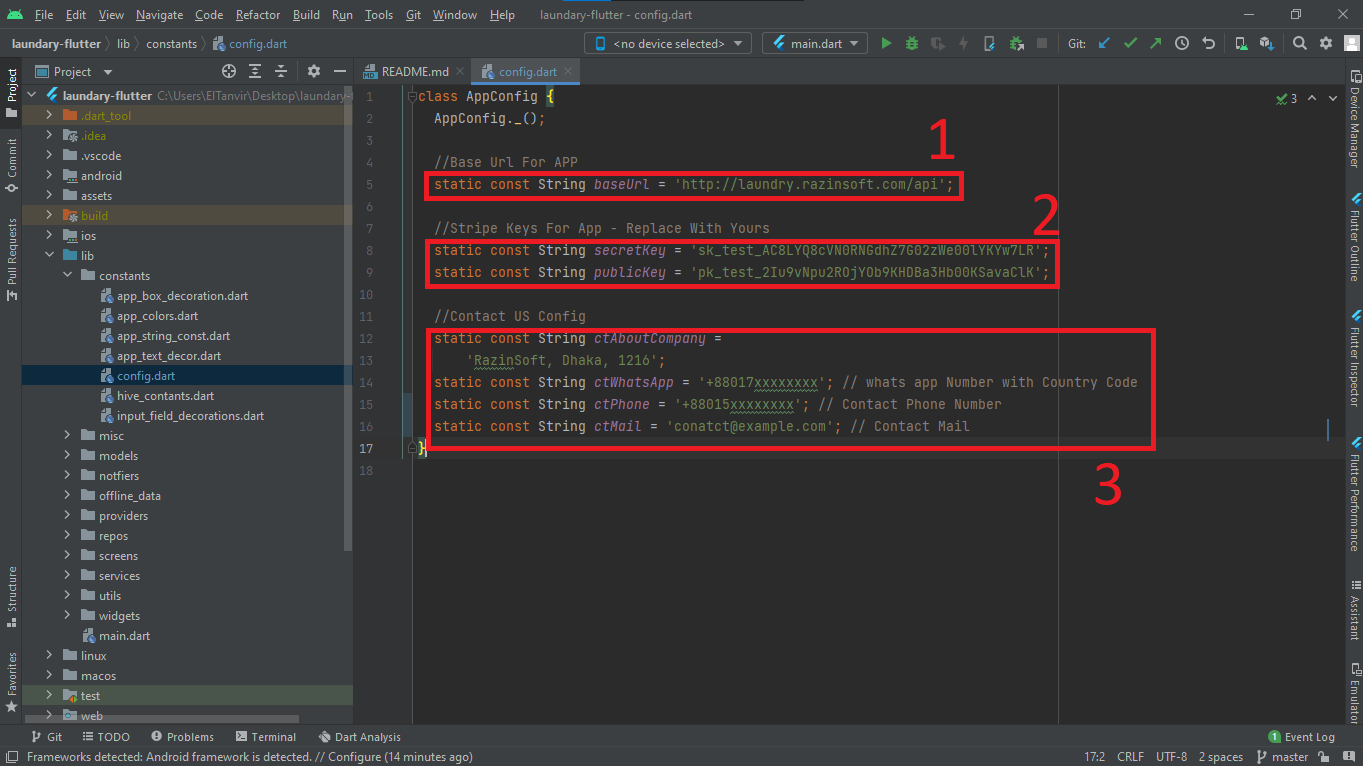
- 1 Indicated in the image above is the base url. Change the base URL according to your server address.
- 2 indicated in the image above is for configuring the stripe keys. Get them from your stripe account.
- Section 3 is for configuring Details in the contact us Page.
- Do not change the other variables.
Make sure that purchase_code is given. Otherwise your app will not work properly
-
Theme Config: To change the theme of the project
you need to go to
the lib/constants/colors.dart file and change the colors
according to your website
You can change the darkBlue color to change the main theme of the project and the other colors are for other parts of the project. I will suggest not to change other colors or contact with me if you want to change the theming of the project

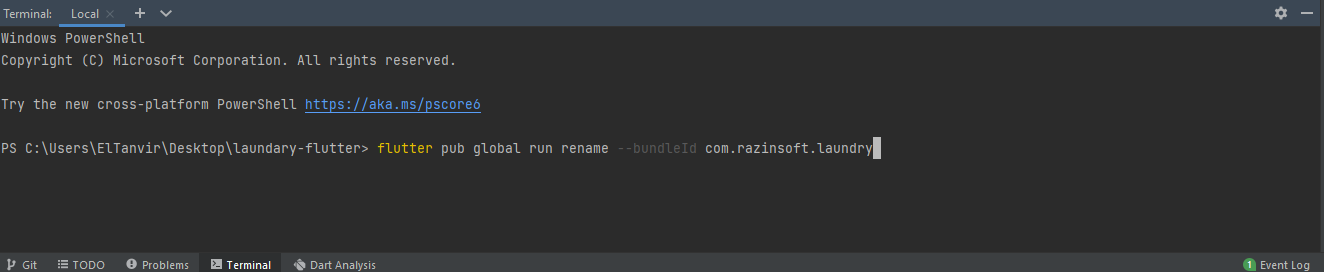
- App Name & Package name : To change the App name and package name You can use Rename package.
First run:
|
flutter pub global activate rename |

To change Package Name
|
flutter pub global run rename --bundleId your.package.name |
To Change App Name
|
flutter pub global run rename --appname "Your App Name" |

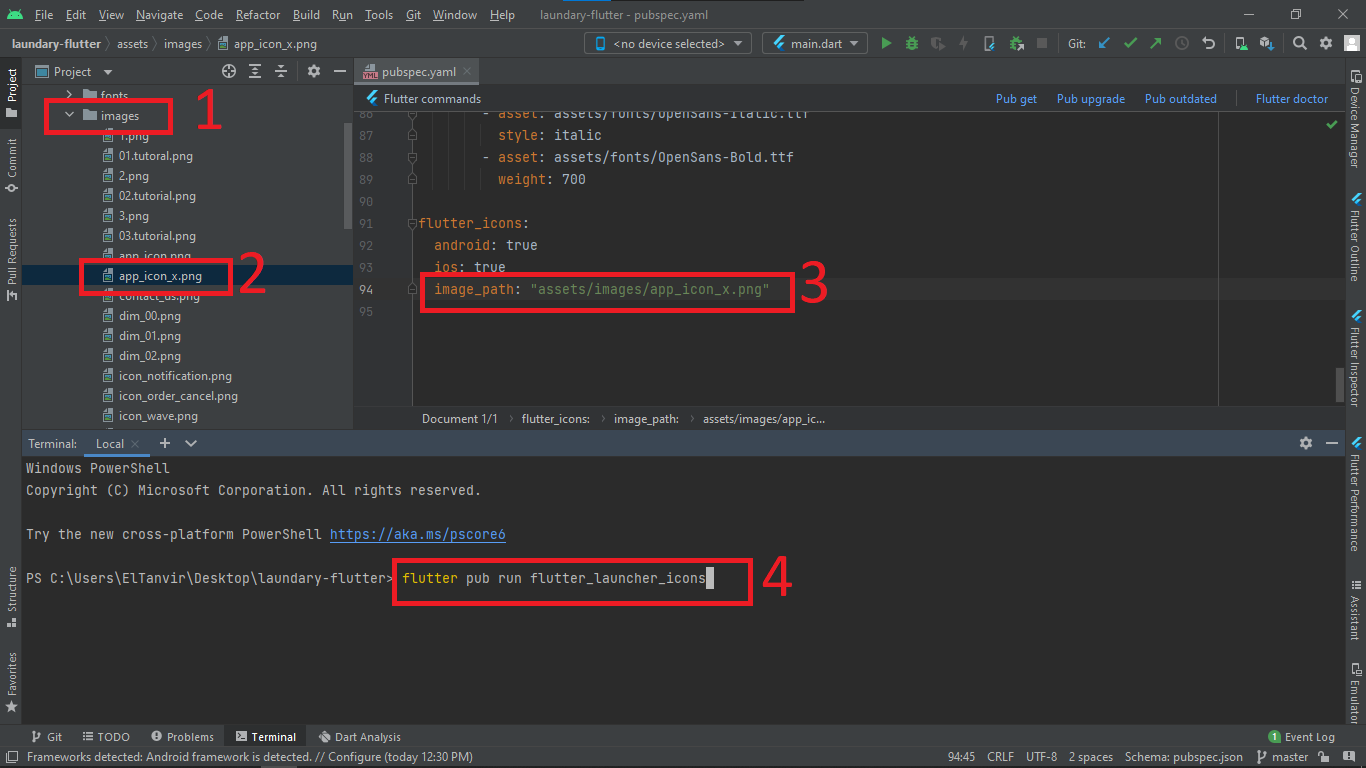
Change App Icon
|
flutter pub run flutter_launcher_icons |
F) How to Build the app for testing (build an apk)?
https://flutter.dev/docs/deployment/android see the doc for reference In terminal run : flutter build apk It will build an apk and show the folder. You can then install it in your phone to test, or share to multiple users for testing
Contact Us
If you have any kind of problem with this code then please mail us on
razinsoftltd@gmail.com If you have any future projects then please contact us.
We are an experienced developer team and build high quality apps for android and ios.
Once again, thank you so much for purchasing this item. As I said at the beginning, I'd be glad to help you if you have any questions relating to this item. No guarantees, but I'll do my best to assist.